What is astrophotography?
Astrophotography is a captivating blend of art and science, allowing you to capture the mesmerizing beauty of the cosmos. From star clusters to nebulae, the night sky offers endless photographic opportunities.
1. Essential Equipment
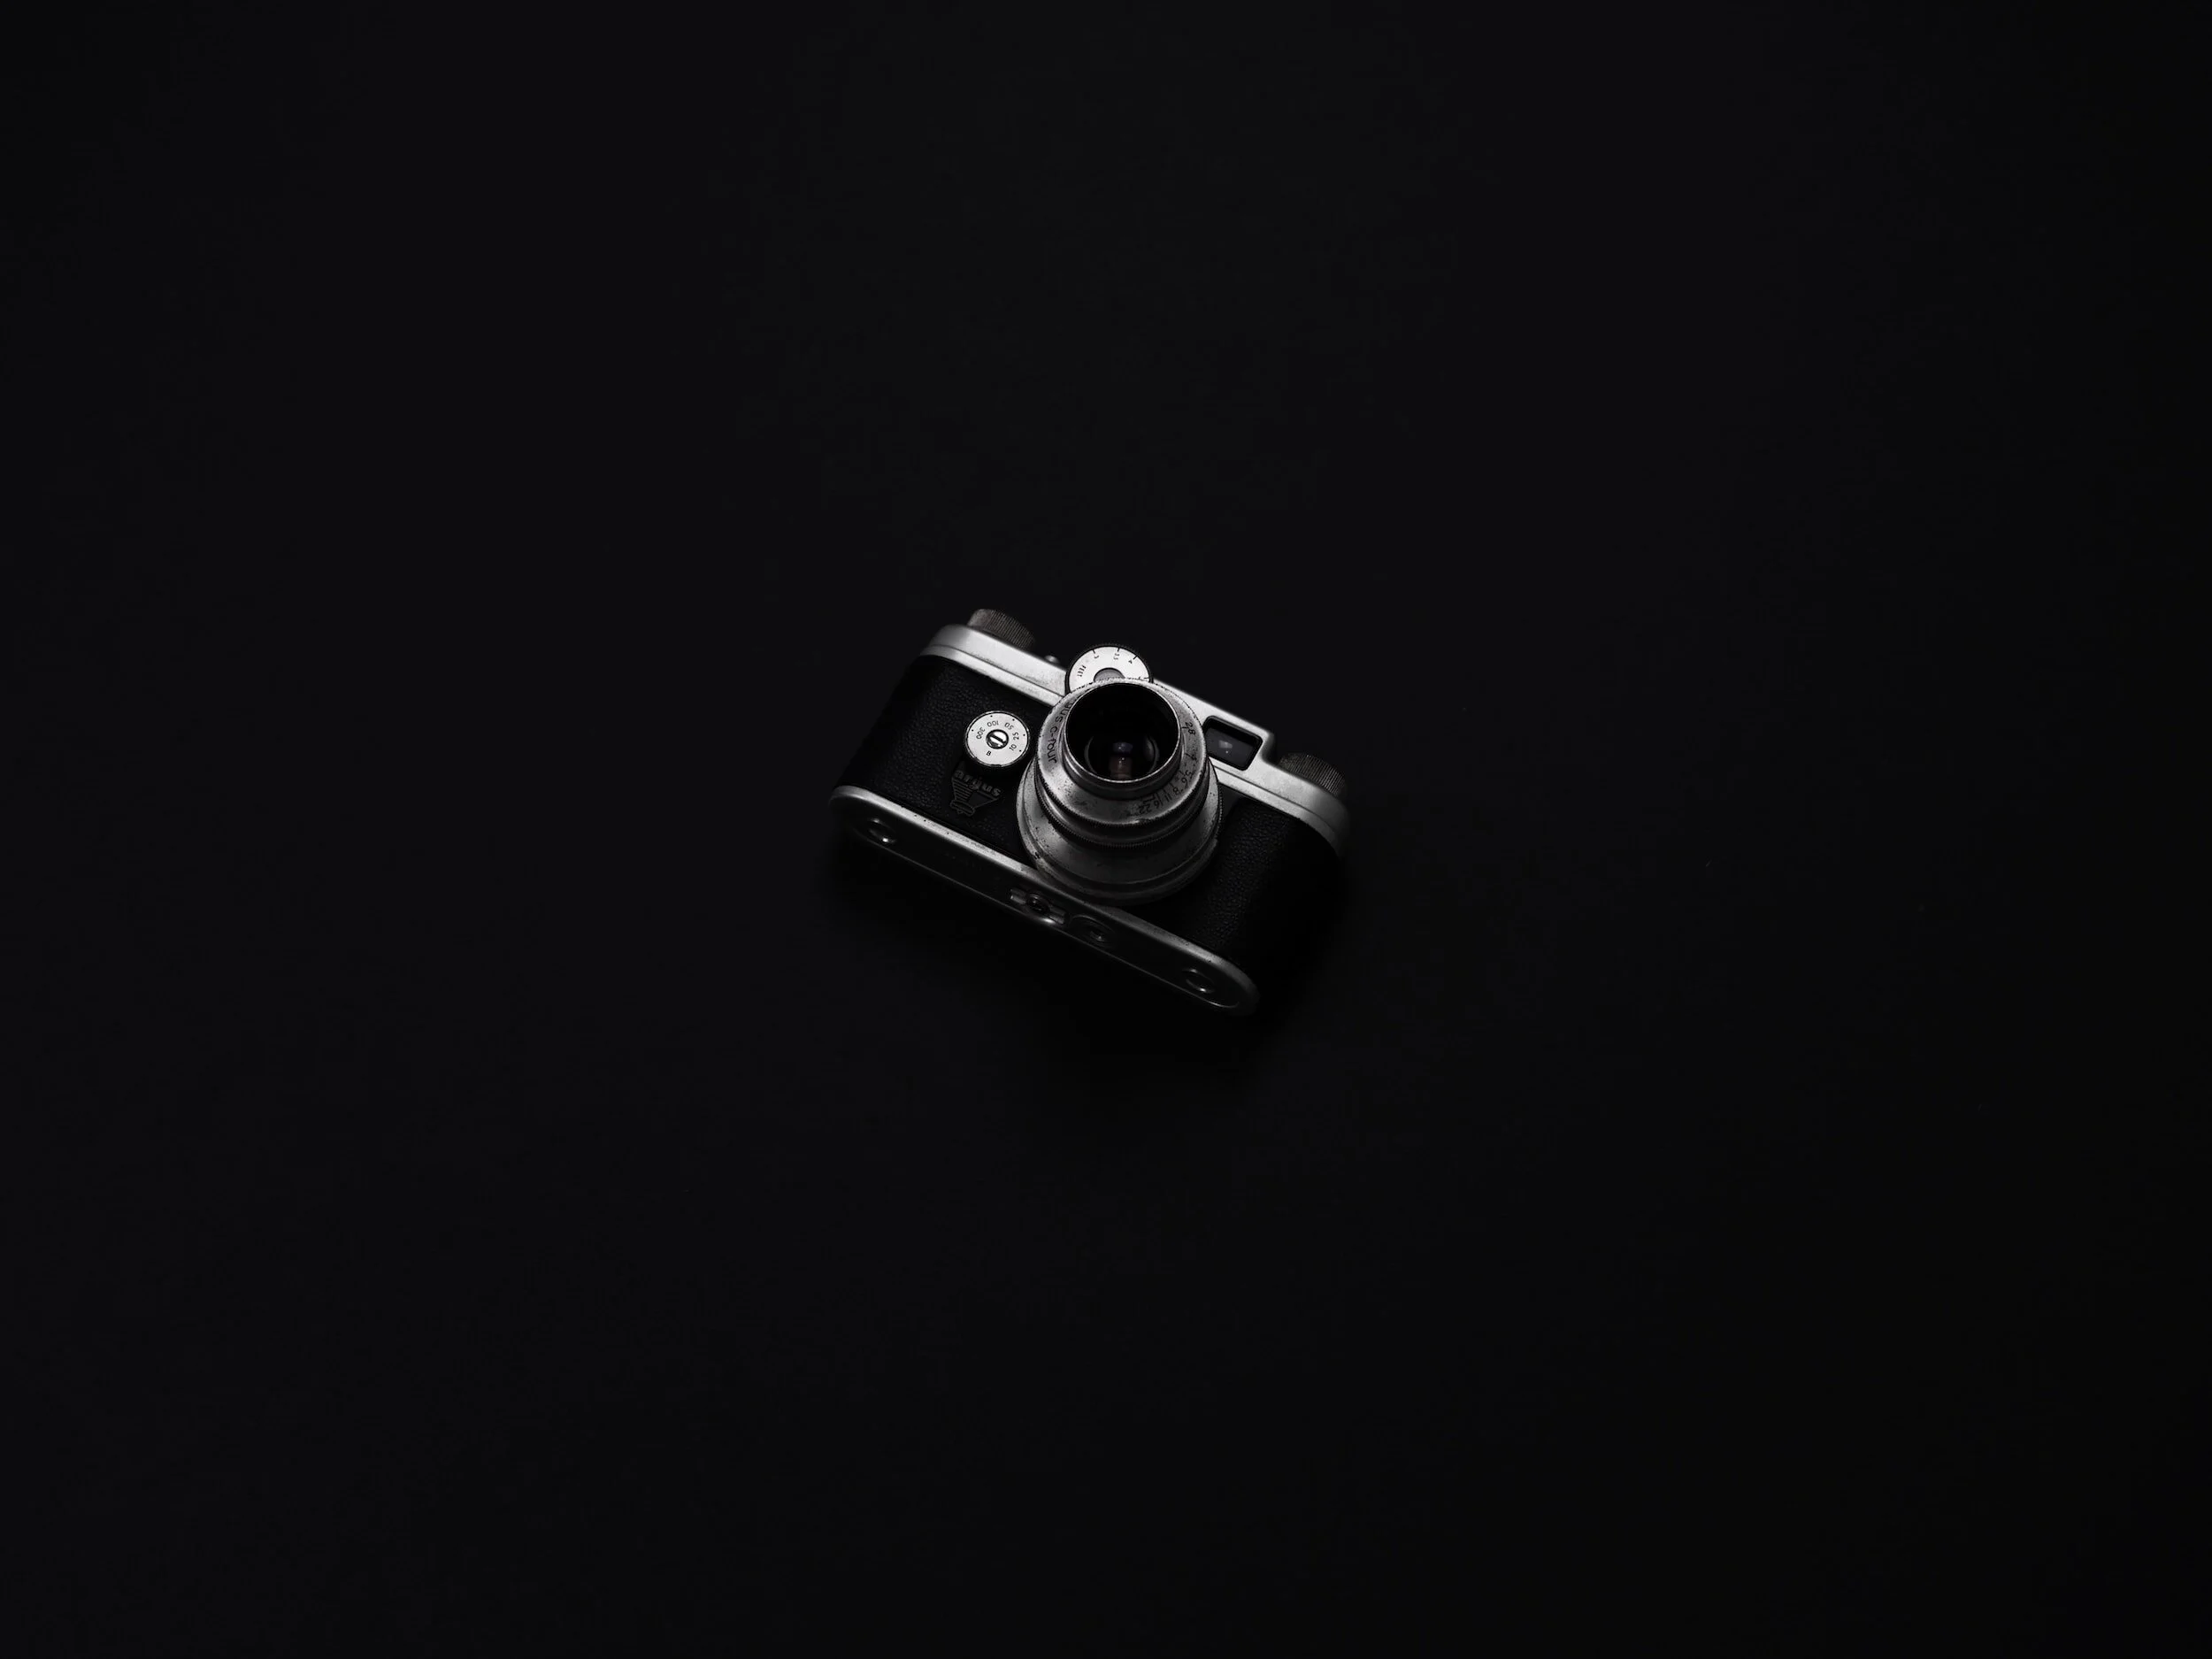
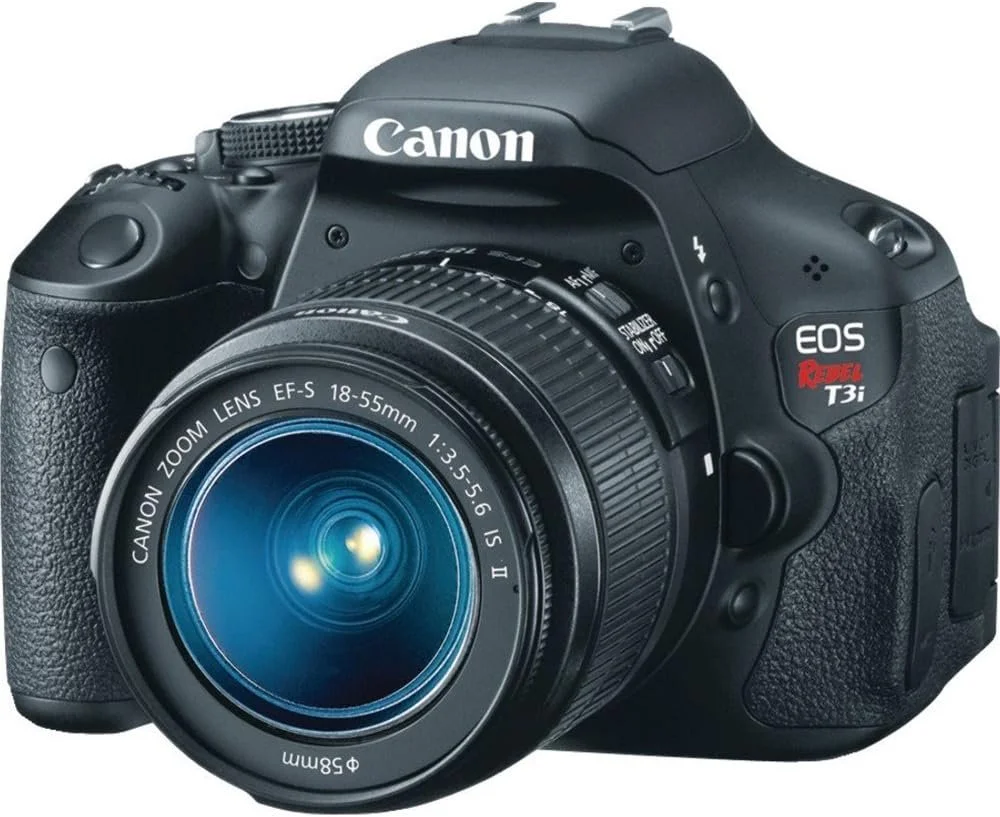
Camera
If you possess a Nikon or Canon that allows lens changes and computer control, it's apt for astrophotography. For capturing Deep Sky Objects (DSOs), consider a used DSLR as a budget-friendly choice. Avoid spending above $350 USD on a DSLR unless it's tailored for astrophotography. Opt for used models; they're as effective as new ones. Platforms like eBay often have good deals. When selecting, prioritize software/hardware compatibility and sensor quality.
Recommendations
Lenses
Start with a wide-angle lens to capture objects like planets, star clusters, and nebulae. The lens affects the magnification and blur in the final photo.
Accessories
A sturdy tripod is a must. Use remote shutter releases to prevent camera shake. An intervalometer is beneficial for star trails.
Star Tracker
For long exposures, a star tracker like the Sky-Watcher Star Adventurer or iOptron SkyTracker is invaluable. It follows the stars, preventing blurred trails.
Example Setup
A typical DSO (Deep Sky Object) astrophotography setup can range from $1600 to $5000 USD. The cost varies based on the equipment's condition and specific items purchased.
Essential Components:
A GoTo Equatorial Mount: Crucial for tracking celestial objects.
Camera: Either a DSLR or a dedicated astronomy camera.
Telescope: The primary tool for capturing distant celestial objects.
Highly Recommended (Most People Use):
Field Flattener or Coma Corrector: Enhances image quality by correcting optical distortions.
Dew Prevention: Essential except in dry, arid environments.
Autoguiding: Helps in precise tracking of stars.
Add-ons:
Bahtinov Mask: Assists in achieving sharper focus.
Electronic Auto Focuser with Temperature Probe: Highly advised for consistent and precise focusing.
Filter Wheel: Necessary if you're using a monochrome camera.
Laptop or Mini PC: For controlling the camera and other equipment.
USB Hub: Useful for connecting multiple devices.
Filter(s): Enhance specific details or block out light pollution.

2. Location & Conditions
Dark Skies
Avoid light pollution by choosing a dark sky site. Websites like Dark Site Finder can assist.
Atmospheric Conditions
Good 'seeing' (minimal atmospheric turbulence) and 'transparency' (low moisture and dust) are vital.
Local Astronomy Clubs
Joining can provide valuable advice and location recommendations. This is very highly encouraged.
3. Camera
Starting Point
If you have a computer-controllable Nikon or Canon with interchangeable lenses, it's suitable for astrophotography. A used DSLR is cost-effective for capturing Deep Sky Objects (DSOs).
Budget
Don't exceed $350 USD on a DSLR unless it's astro-modified. Used models, except T6i/T7i, often fall below this price. Check platforms like eBay for deals.
DSLR Recommendations
Features
The above cameras offer good value. While Nikons are consistent, Canons are slightly behind but have adjustable screens for awkward telescope angles.
Compatibility
Nikon and Canon are top choices for software compatibility. Canon slightly edges out with broader support.
Software Integration
Ensure compatibility with tools like AstroPhotography Tool or N.I.N.A. Cameras without computer control are less effective for deep space shots.
3.1 Camera Settings
Mode
Always use Manual mode.
Aperture
The lower the f-number, the more light enters your camera. Aim for f/4 or lower.
ISO Sensitivity
Begin with ISO 800 or 1600. Adjust based on your camera's noise handling.
Shutter Speed & The “500 Rule”
To prevent star trails, use the '500-rule'. This rule suggests that the maximum exposure time in seconds is approximately 500 divided by the lens's focal length. For instance, with a 50mm lens, you'd use a 10-second exposure.
File Type
Shoot in RAW for better post-processing flexibility.
4. Focusing & Alignment
Manual Focus
Use the ‘Live View’ feature, zoom in on a bright star, and adjust the focus ring for sharpness.
Star Tracker Alignment
Align your tracker to Polaris, the North Star. Apps like Astro-Physics PolarAlign can guide you.
5. Composition & Subjects
Target
The Milky Way, constellations, planets, and meteor showers are great starting points. As you progress, deep-sky objects like nebulae and galaxies become intriguing subjects.
Foreground
Add elements in the foreground for impact and perspective. Use the rule of thirds for composition.
Apps
Stellarium and Cartes du Ciel can help visualize the night sky for specific dates and locations.
6. Post-Processing
Software
Use tools like Photoshop to enhance your images. RAW images allow for detailed post-processing.
Image Processing
It can be as thrilling as capturing the image. Seeing details emerge from flat original images is rewarding. However, know when to stop to maintain the image's authenticity.
DeepSkyStacker: Specifically designed for astrophotography, this software is used to stack multiple images, reducing noise and enhancing the signal, which is especially useful for deep-sky objects.
PixInsight: A specialized software for astrophotography post-processing. It offers advanced tools and algorithms tailored for space images.
RegiStax: Mainly used for planetary and lunar photography, it's a stacking software that aligns and combines multiple images to produce a detailed final result.
AstroPixelProcessor (APP): A relatively new software that's gaining popularity. It's designed for pre-processing, stacking, and post-processing of astrophotography images.
StarTools: A post-processing platform tailored for astronomy. It provides modules for various tasks like noise reduction, sharpening, and color calibration.
Siril: An open-source software for processing astronomical images. It offers tools for stacking, aligning, and enhancing astrophotos.
7. Challenges & Advancements
Explore
Challenge yourself with different celestial objects. If you're intrigued by the Moon, observe it as the terminator moves, revealing new features. If planets fascinate you, capture Venus's crescent.
Image Stacking
The Milky Way, constellations, planets, and meteor showers are great starting points. As you progress, deep-sky objects like nebulae and galaxies become intriguing subjects.
Astrophotography Subdisciplines

Lanscapes
Captures expansive space views, often blending in natural surroundings with celestial wonders like the Milky Way or auroras.
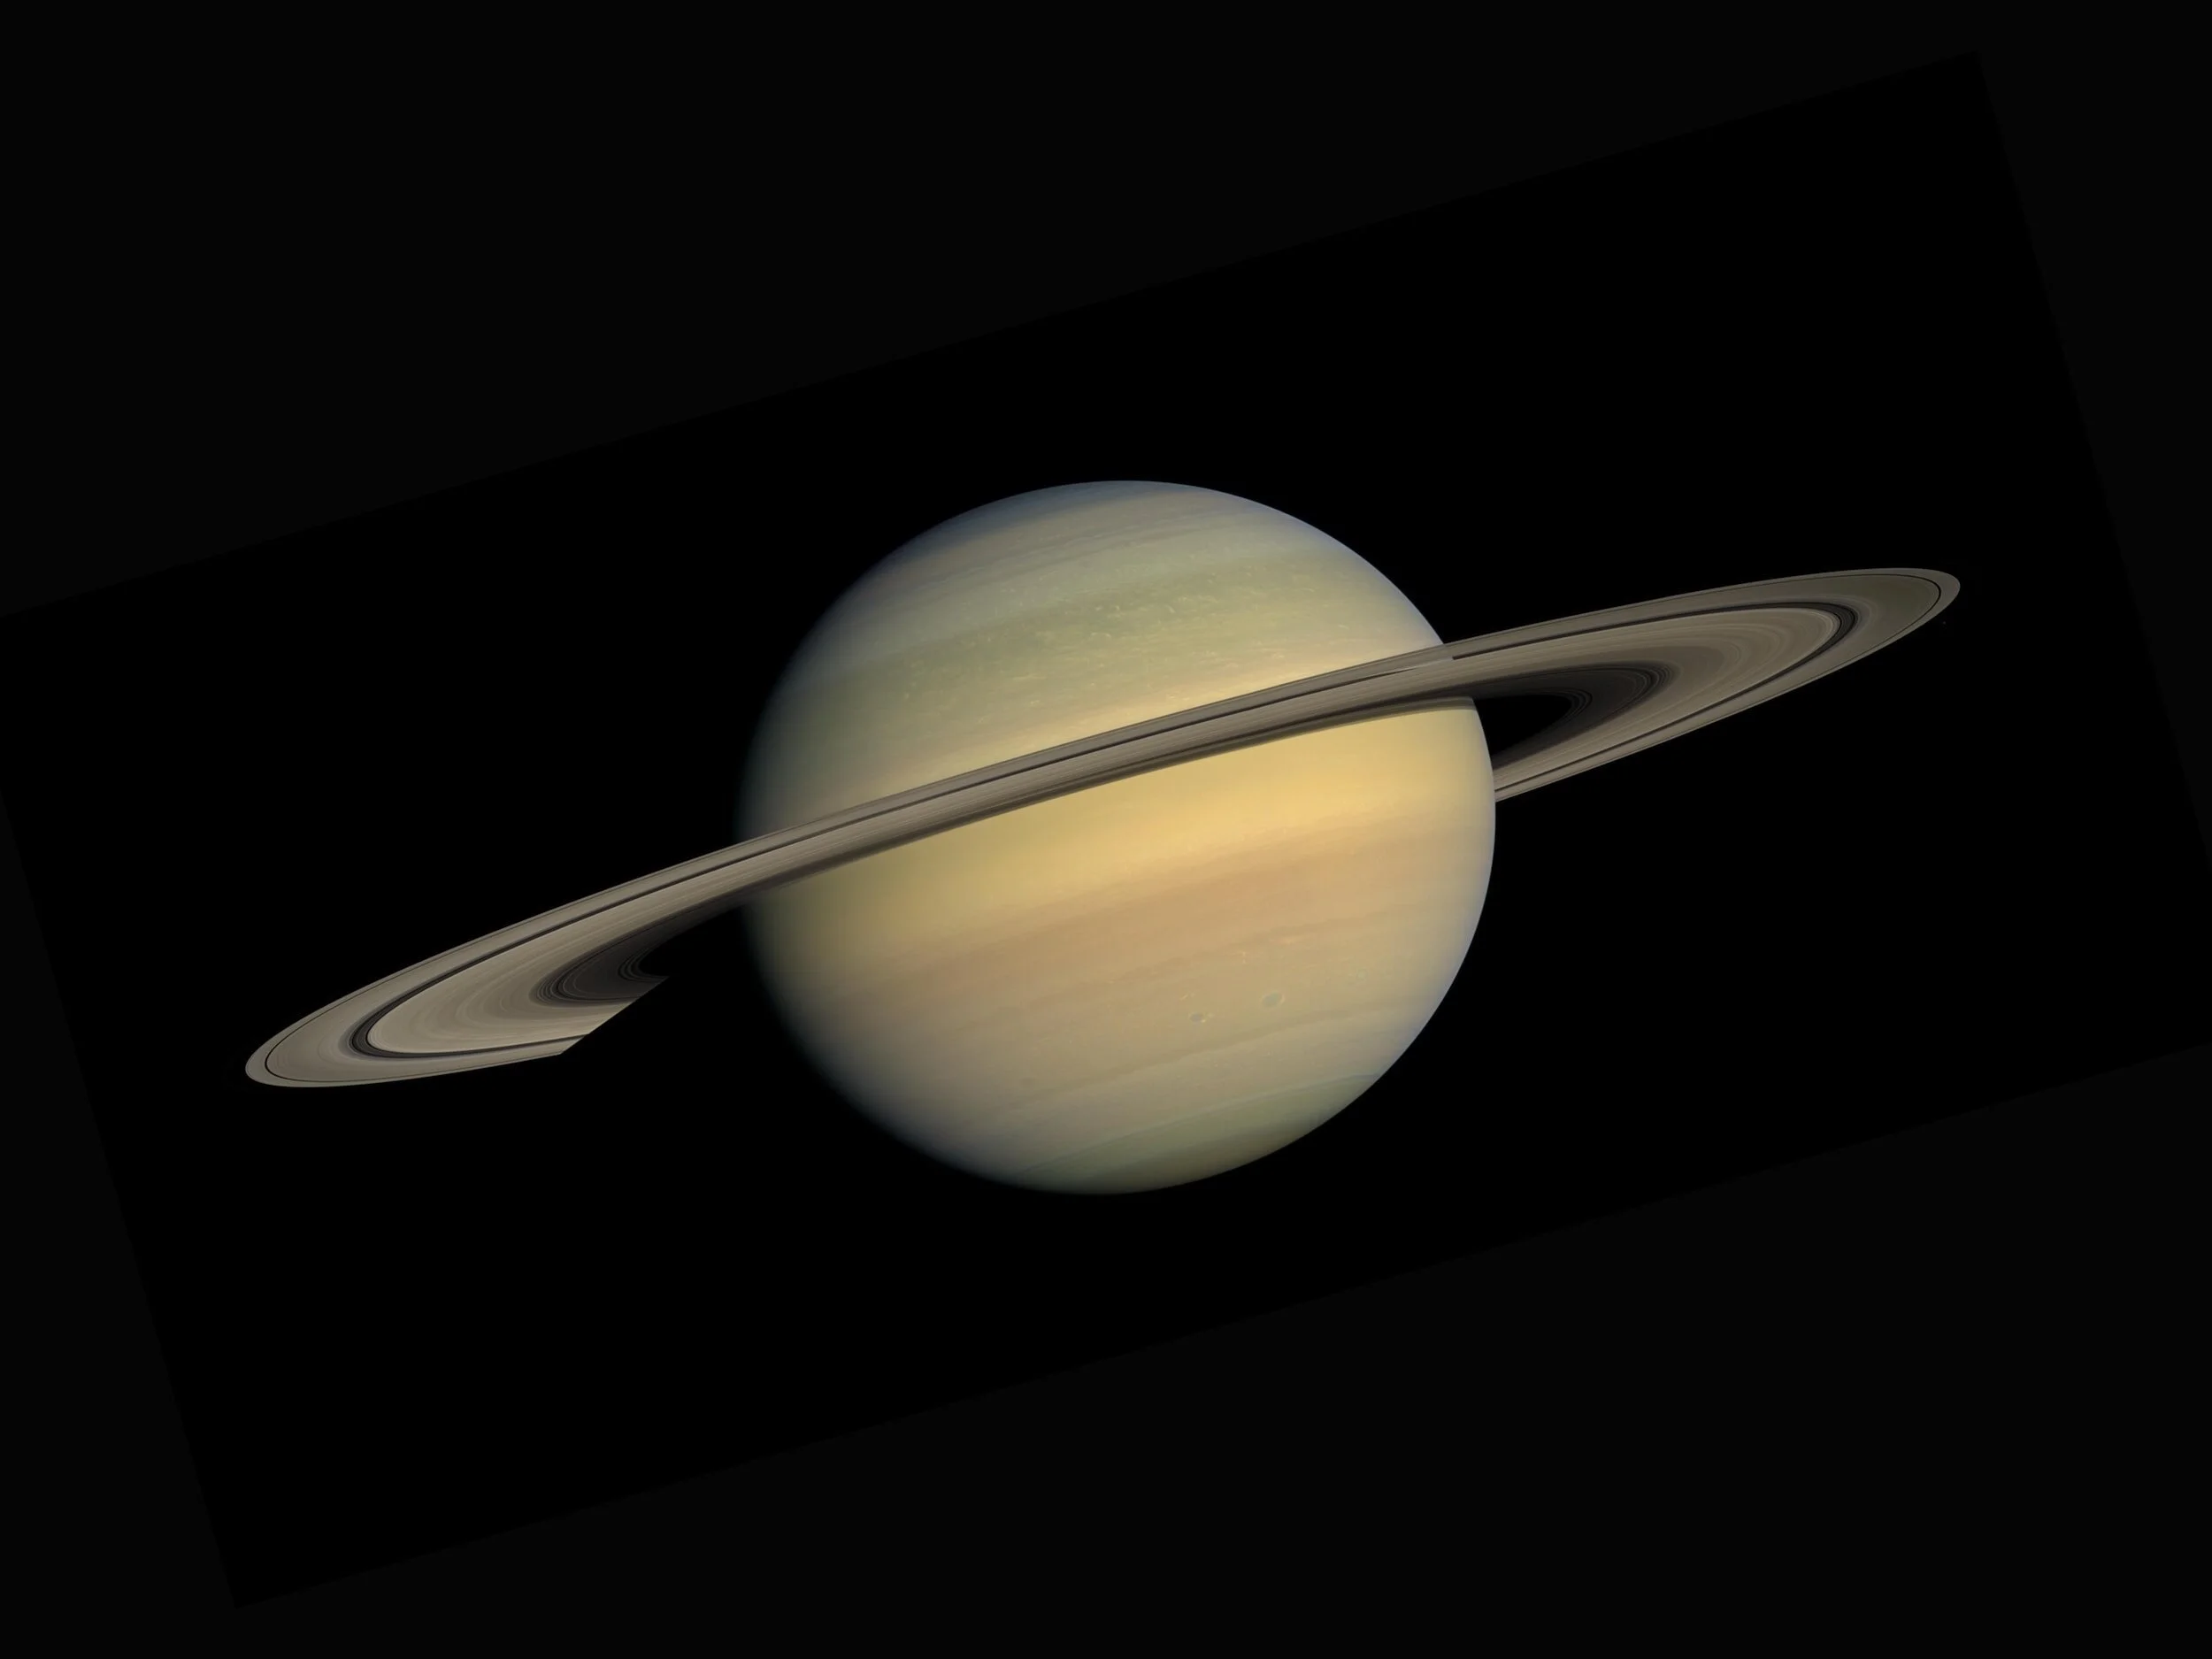
Planetary Imaging
Focuses on planets, necessitating cameras with high frame rates and telescopes with extensive focal lengths and large apertures. Popular subjects include Mars, Saturn, and Jupiter, though some also capture Pluto, Neptune, Uranus, Mercury, and Venus.
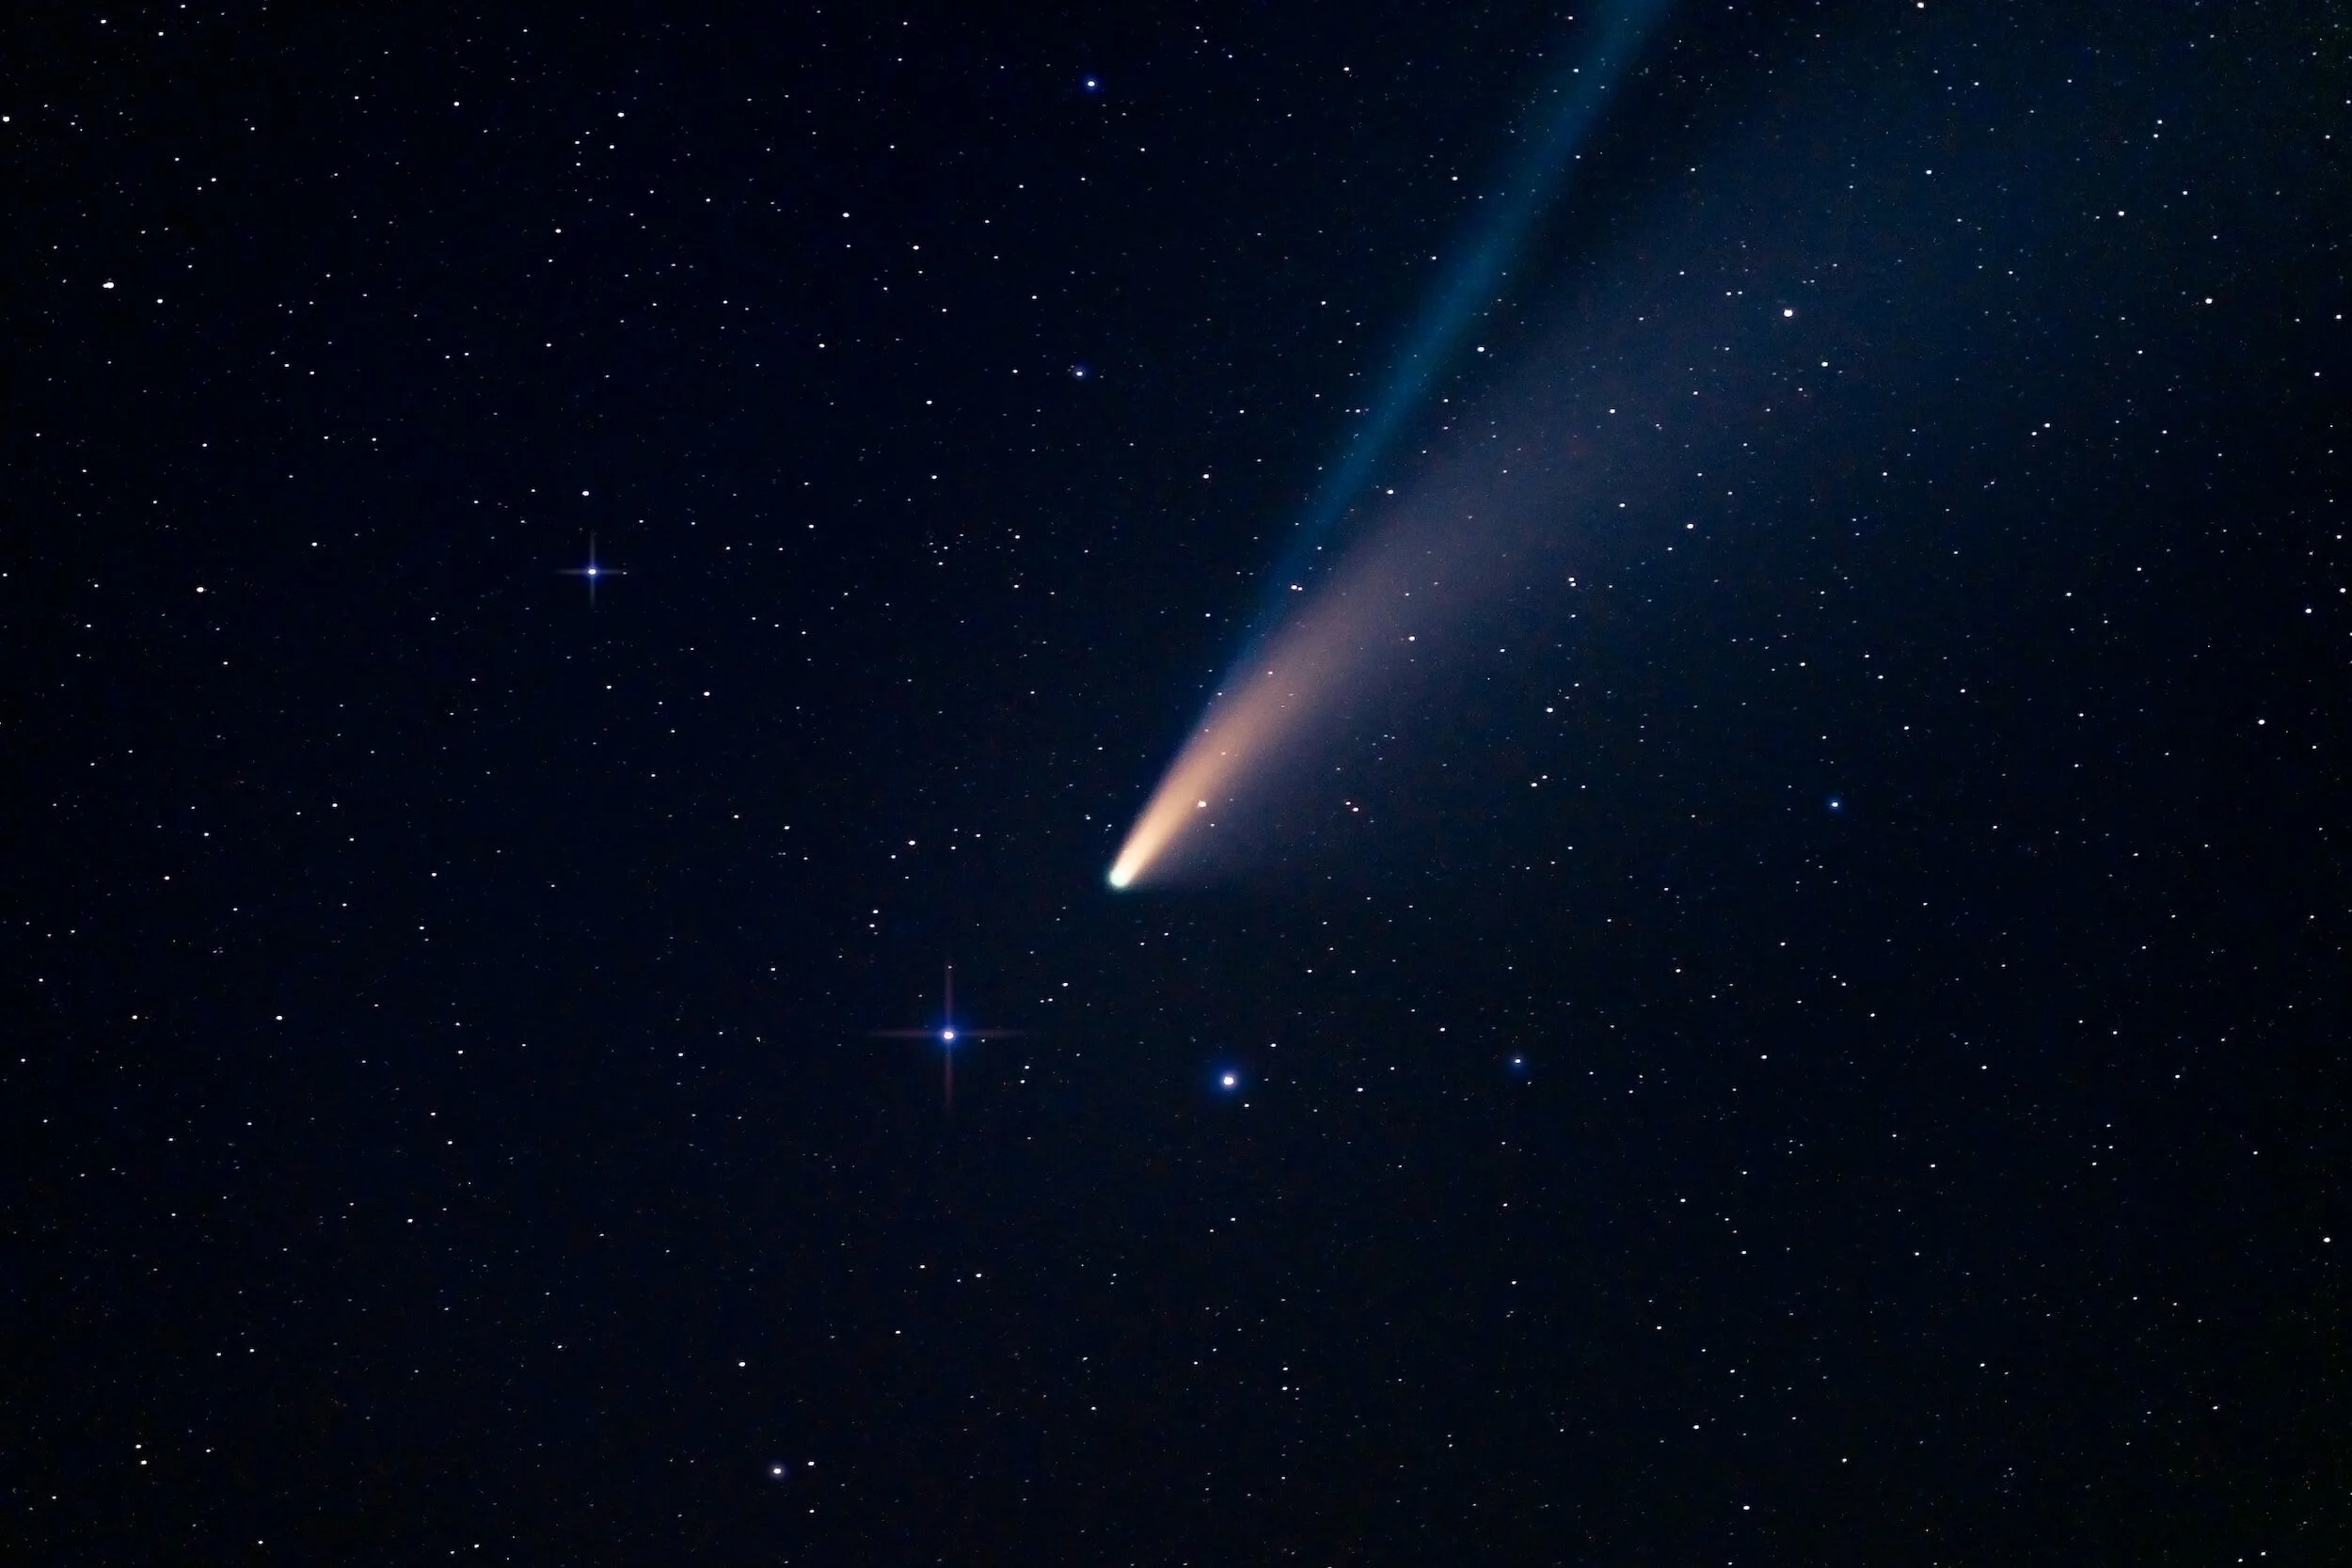
Specialty Shots
Encompasses unique celestial events and objects, such as comets, asteroids, and transits of the space station across planets.
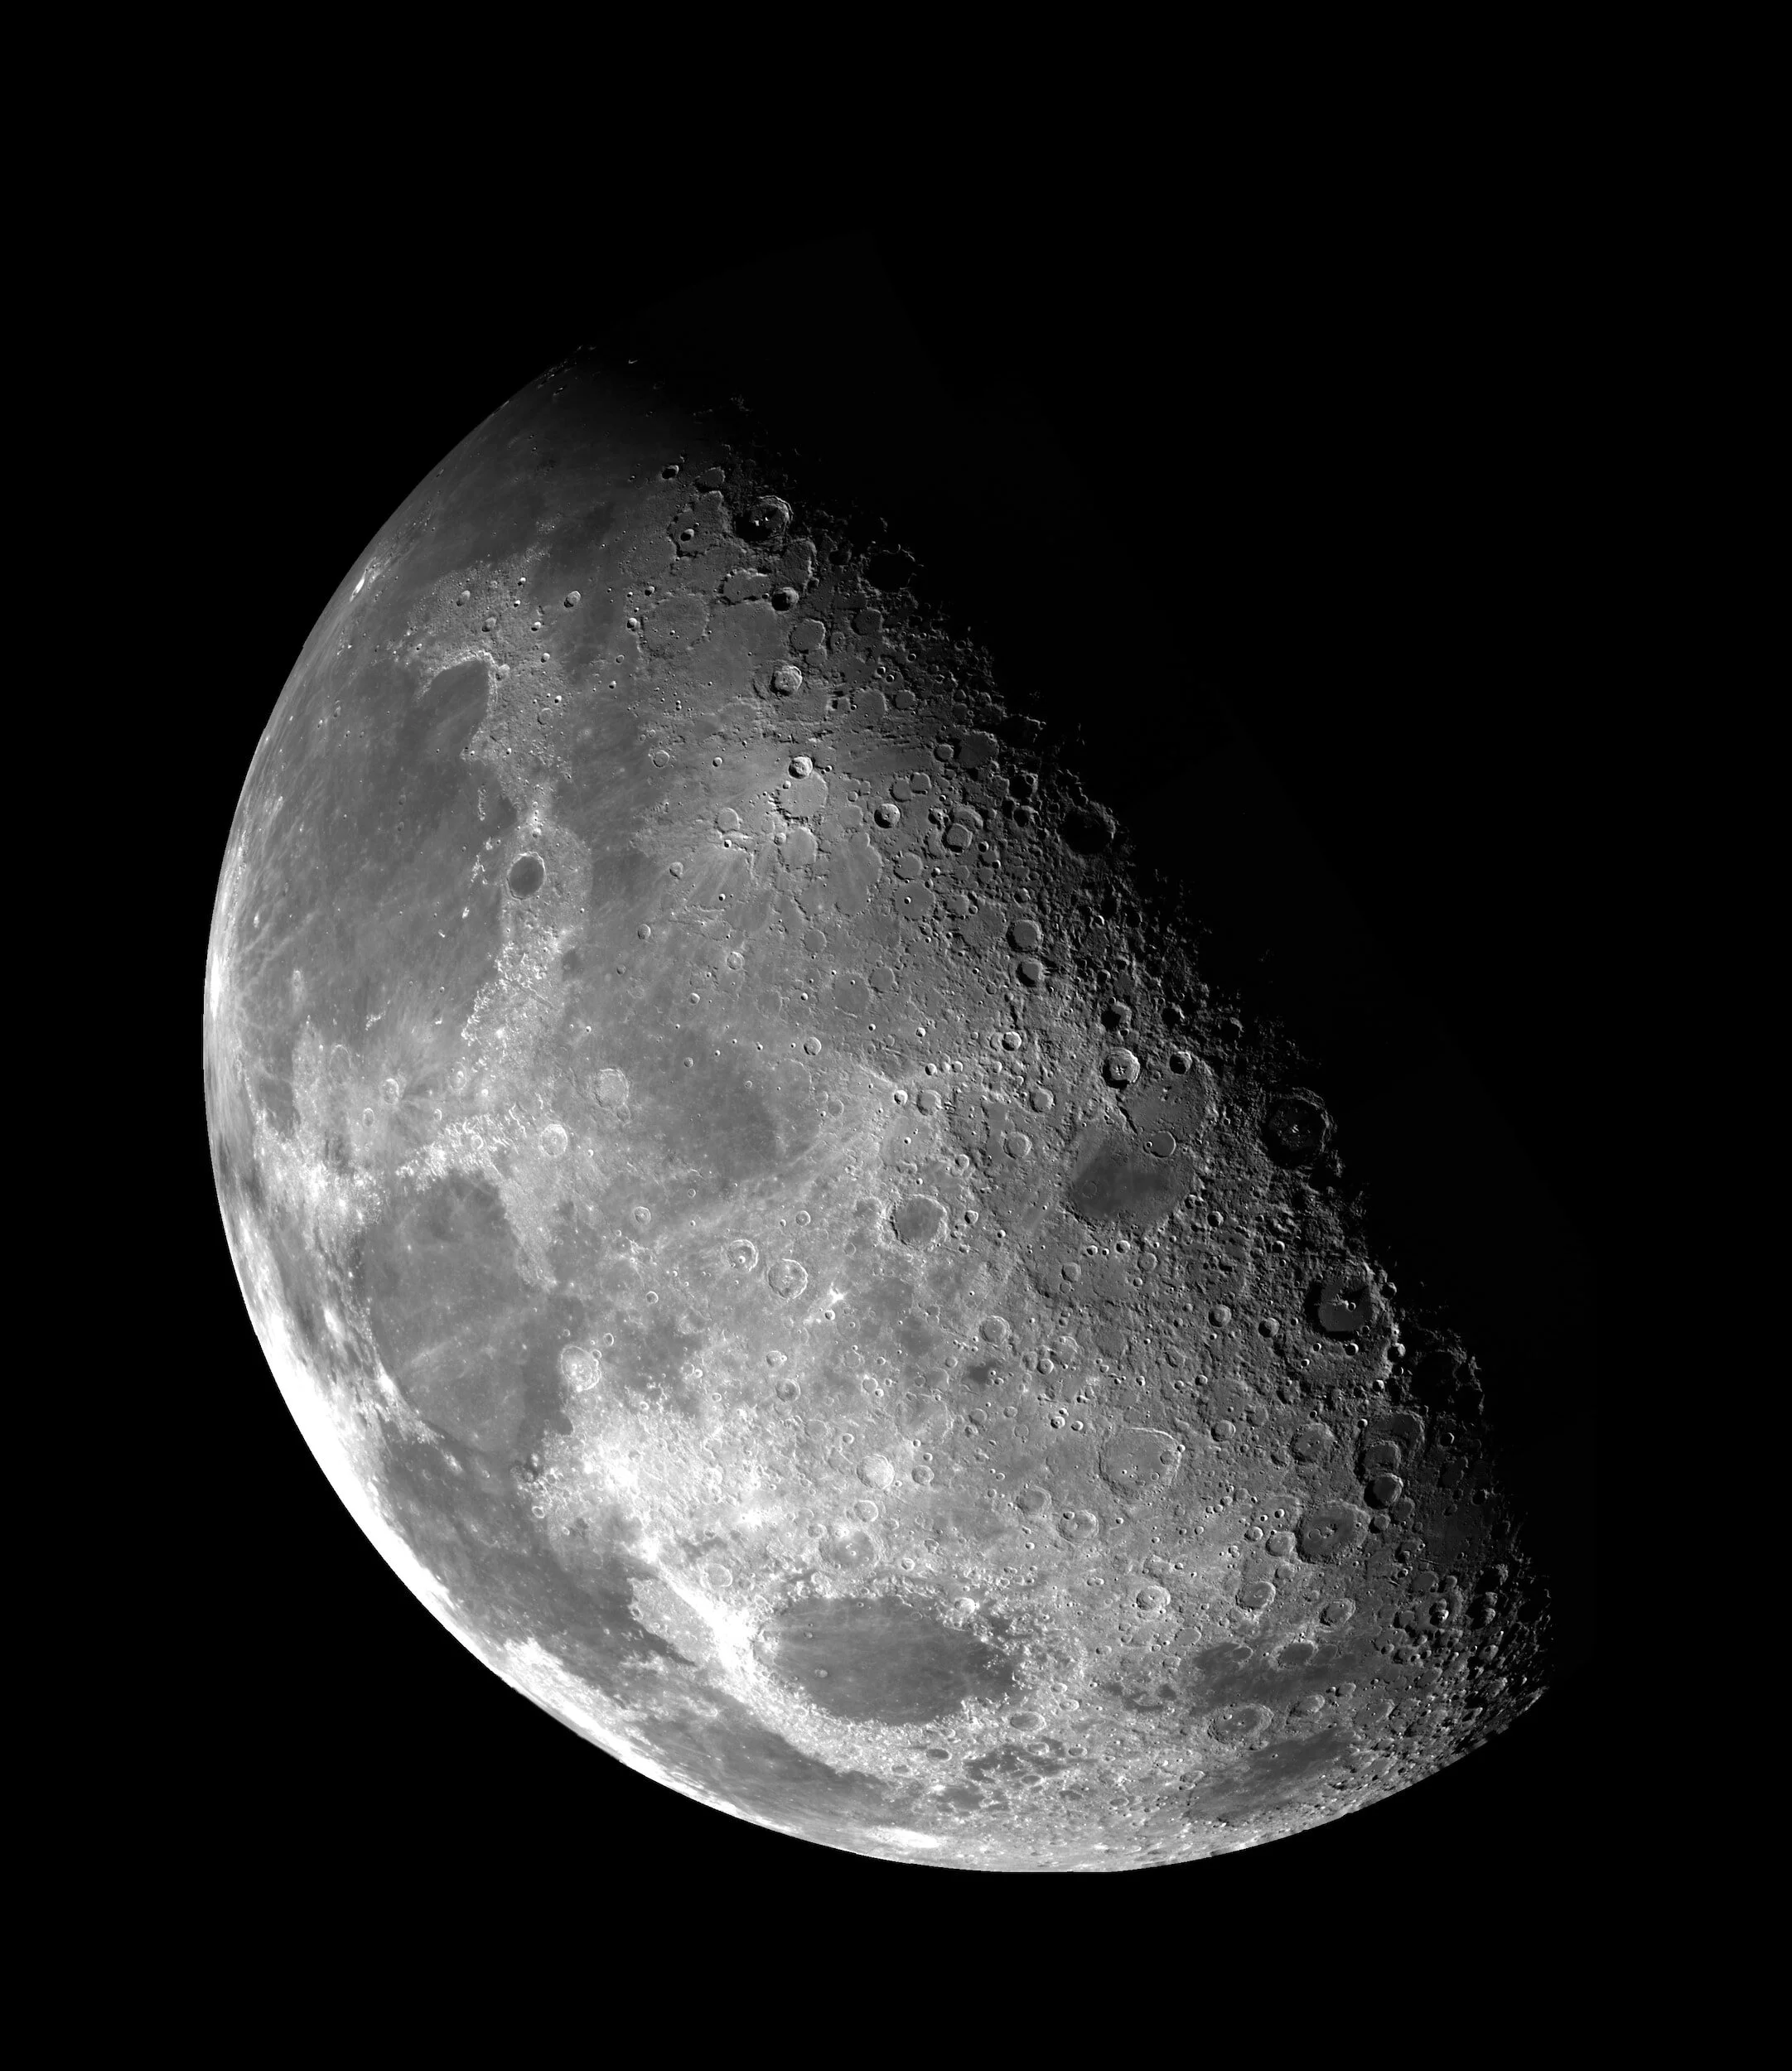
Lunar
Highlights the Moon's features, from detailed crater close-ups to full moon portraits, sometimes juxtaposed with earthly landscapes.
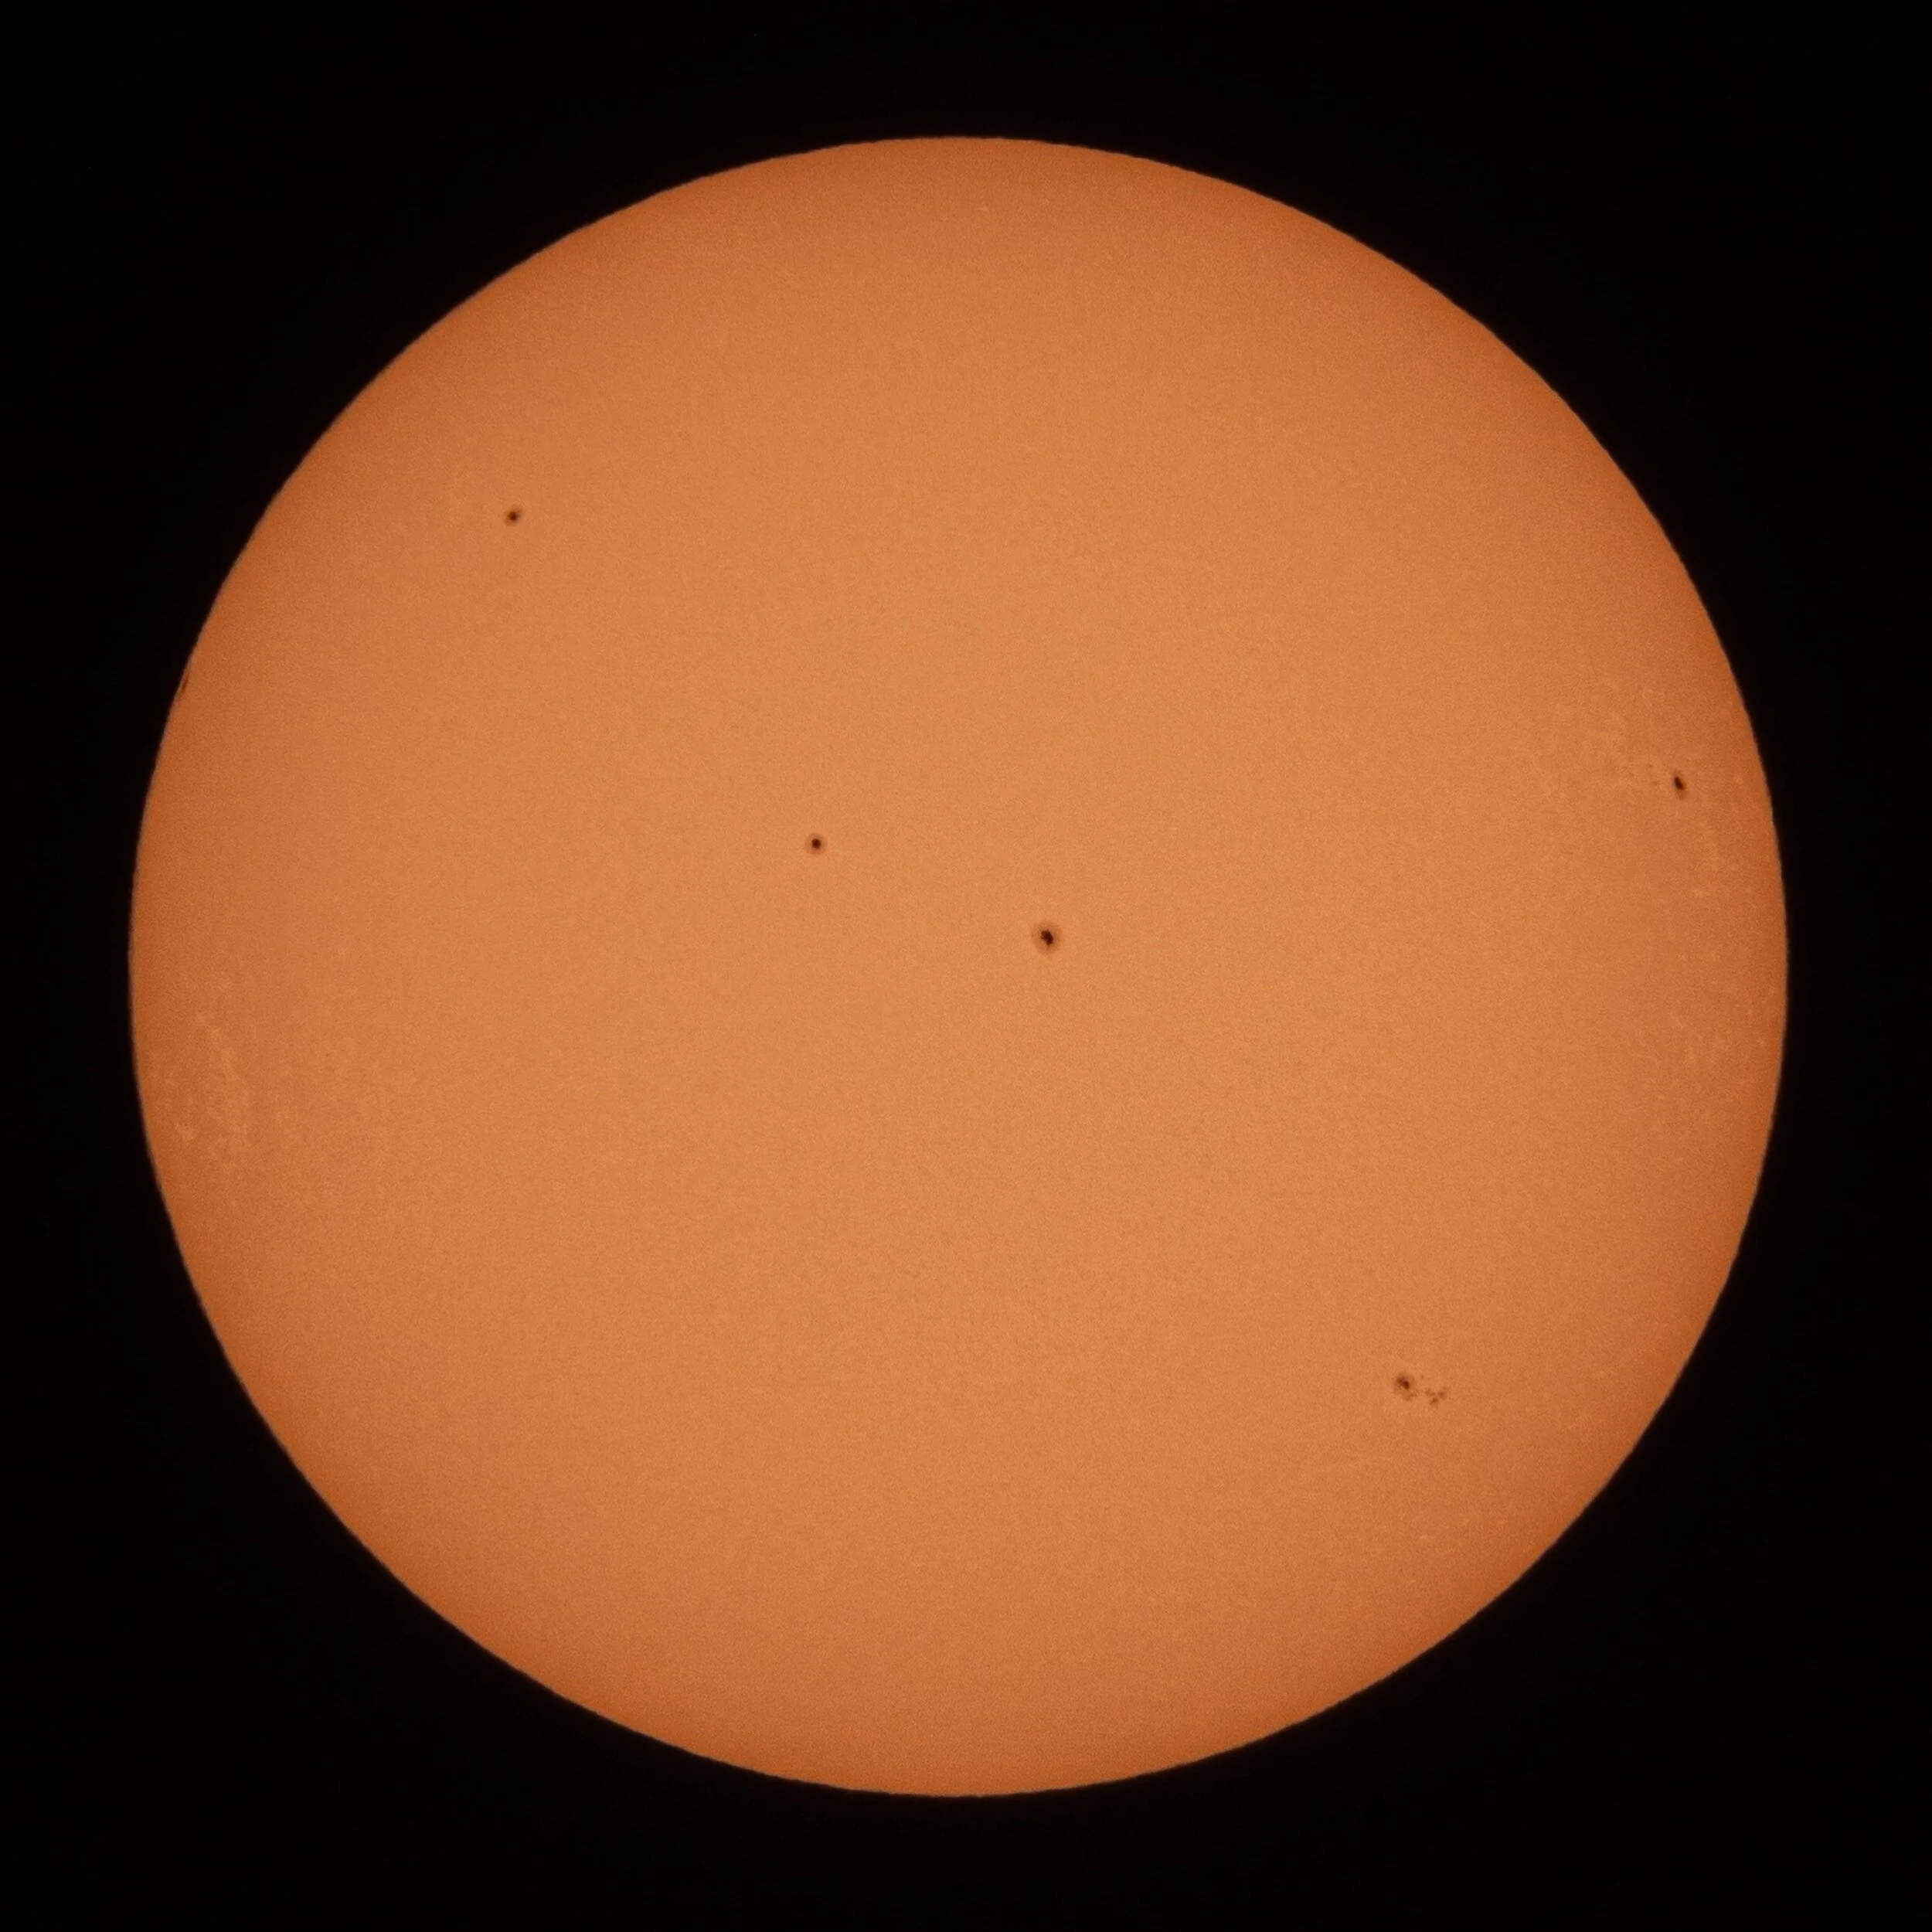
Solar
Centers on the Sun, showcasing its entirety or zooming in on specific phenomena like solar flares and sunspots.
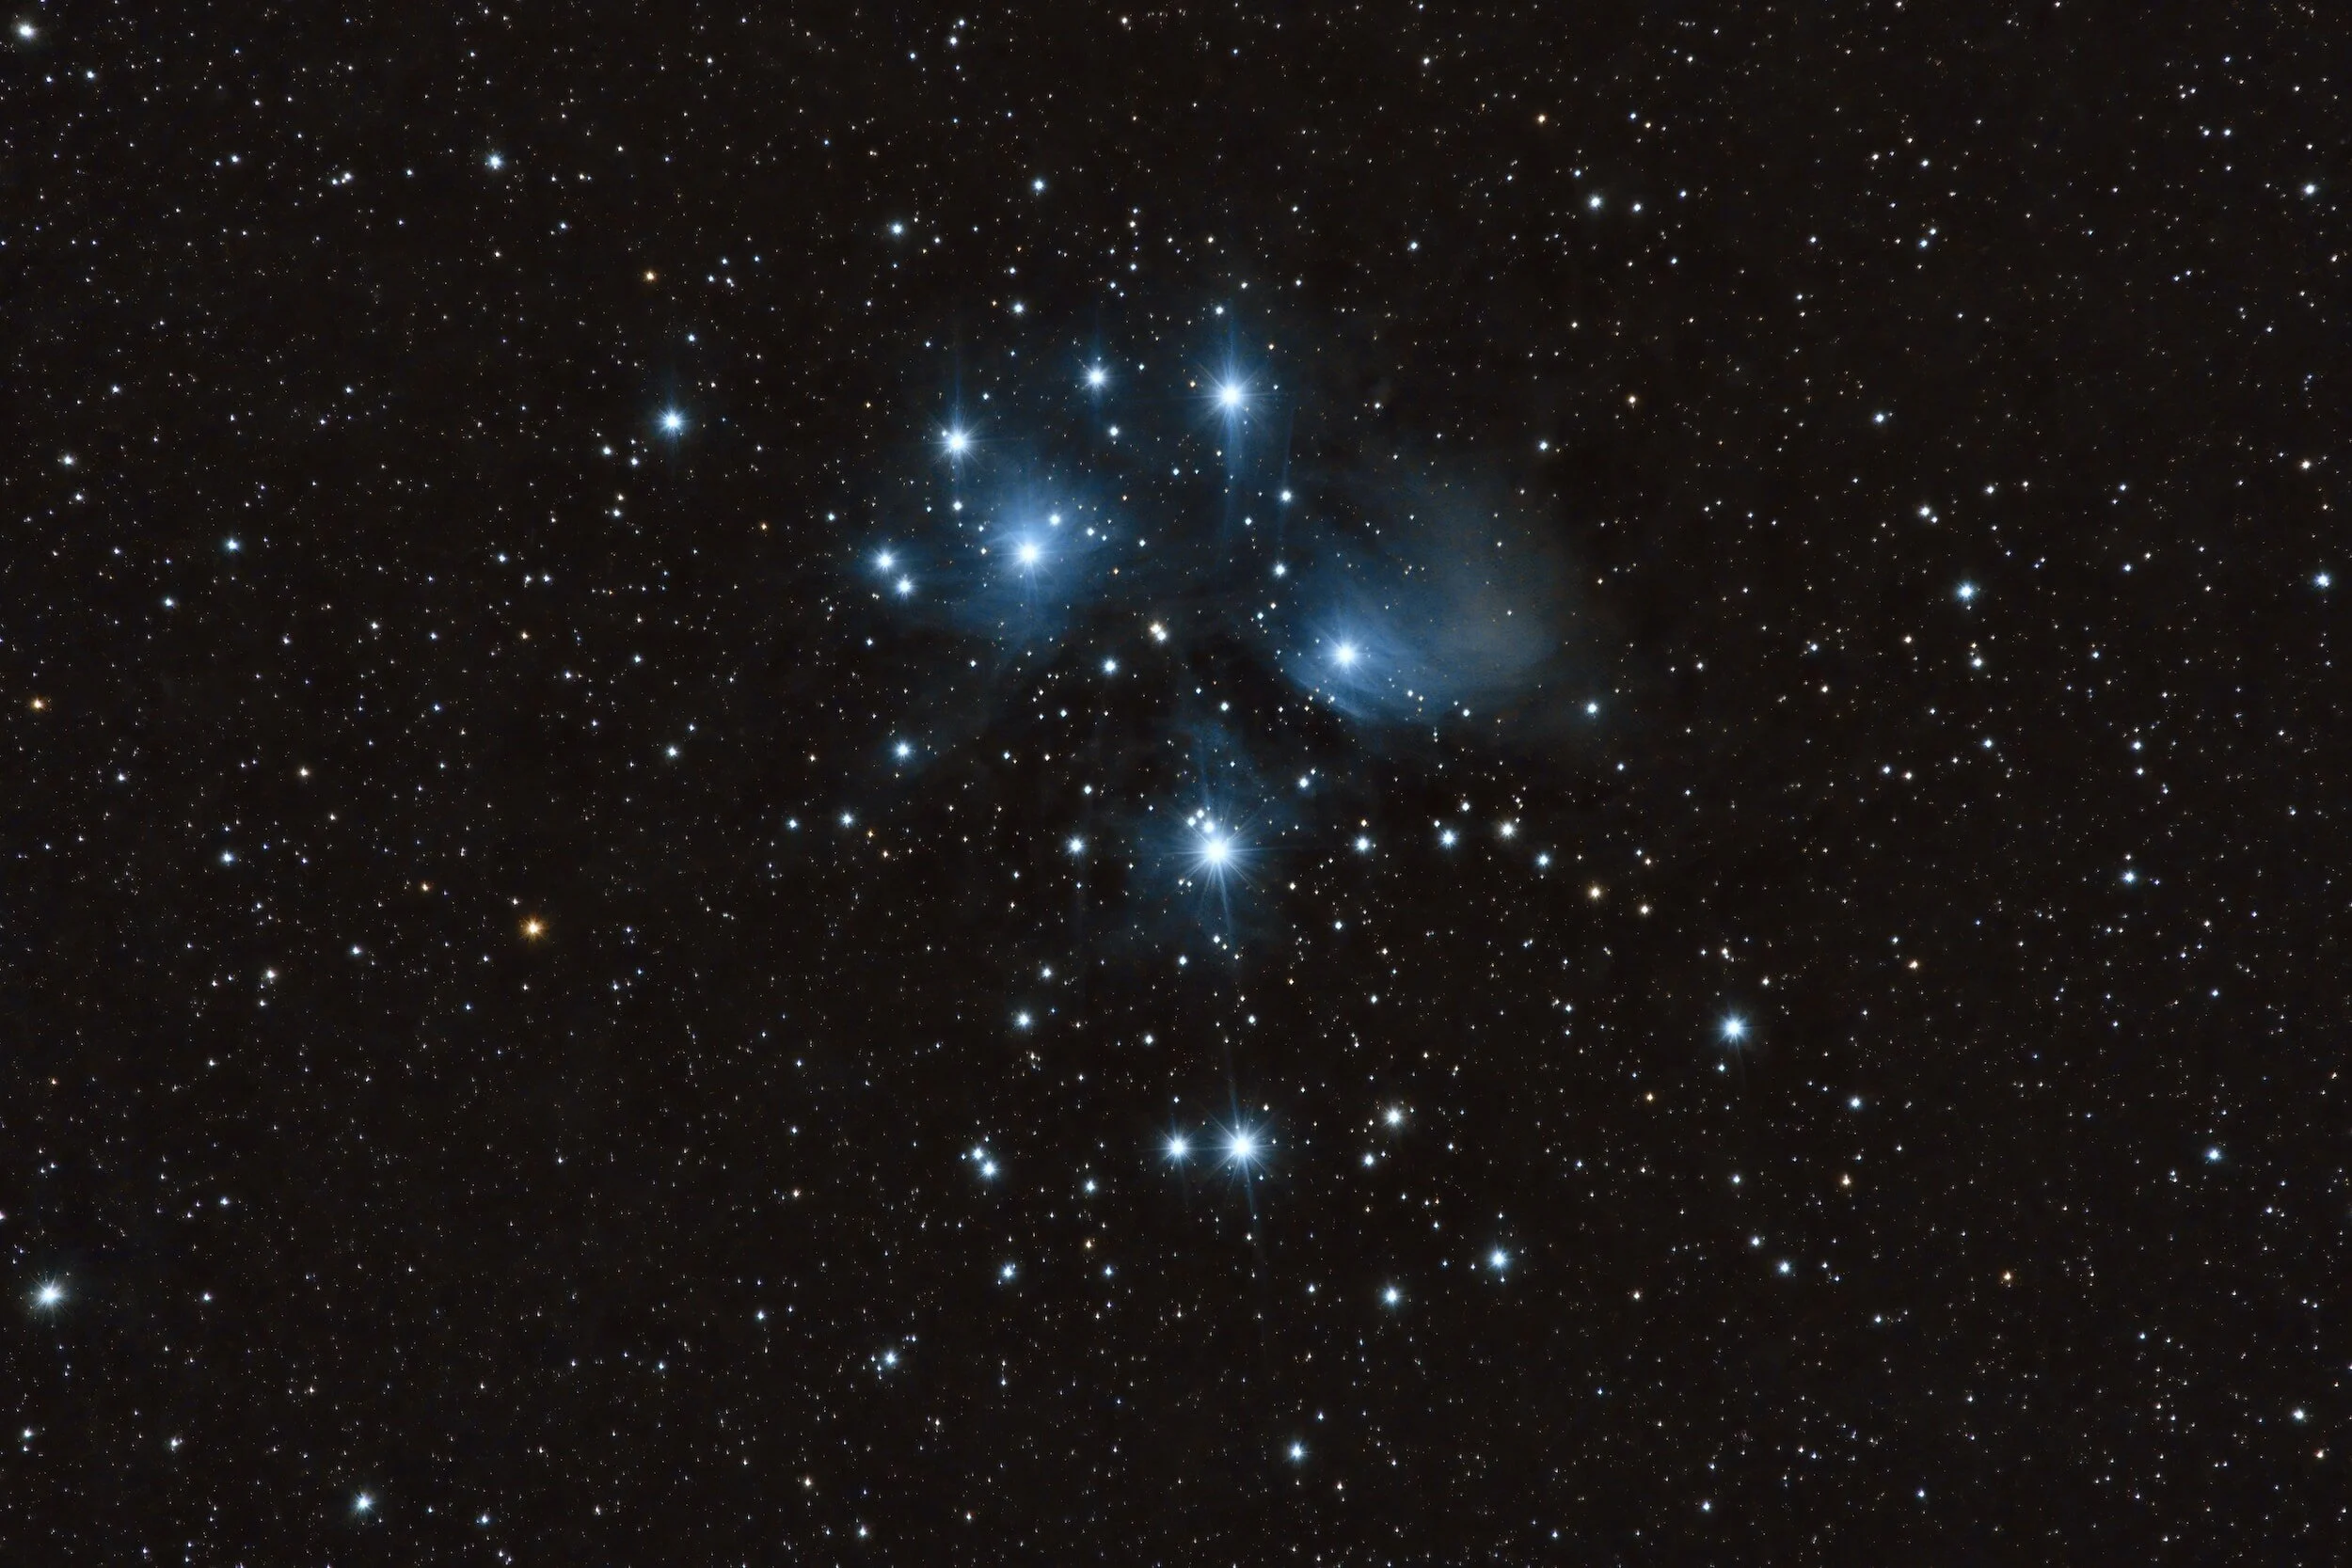
Deep Space Objects (DSO)
Targets entities beyond our solar system. DSOs vary greatly in size, from vast expanses like the LMC galaxy to more compact wonders like the Crab Nebula. This category includes star clusters, galaxies, planetary nebulae, and remnants of supernovae. Note: Capturing DSOs typically demands a different telescope type than what's used for planetary or lunar imaging.